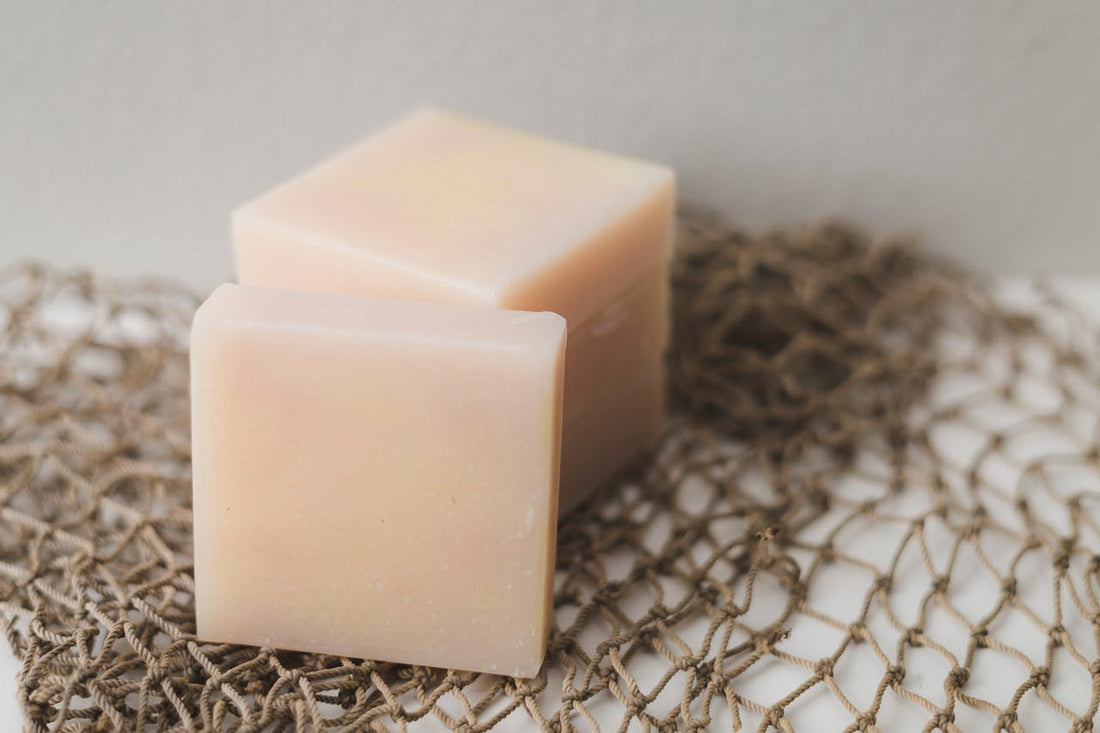
Lotion Bar Recipe: DIY Guide to Perfect Lotion Bars
Share
Table of Contents
Introduction
If you're looking for a fun and practical DIY project, creating your own lotion bars is an excellent choice. This lotion bar recipe will guide you through making your own moisturizing bars that are perfect for keeping your skin hydrated and soft. Whether you're a skincare enthusiast or just looking to try something new, this guide will provide you with all the information you need to craft the perfect lotion bars.
Why Lotion Bars?
Lotion bars offer a solid alternative to traditional liquid lotions, providing a more concentrated and portable way to moisturize your skin. They’re convenient for travel, easy to apply, and can be customized with your favorite scents and ingredients. Here are a few reasons why a lotion bar recipe might be just what you need:
- Convenience: Lotion bars are perfect for on-the-go use. They don’t spill and are easy to carry in your bag.
- Customization: You can tailor the ingredients to your skin's needs, choosing from a variety of butters, oils, and essential oils.
- Long-Lasting: Lotion bars typically last longer than liquid lotions because they're more concentrated.
Basic Lotion Bar Recipe
Let’s get started with the basics of our lotion bar recipe. This simple formula is perfect for beginners and can be adjusted to your personal preferences.
Ingredients
- 1/2 cup beeswax pellets
- 1/2 cup shea butter
- 1/2 cup coconut oil
- 10-15 drops essential oil (optional, for fragrance)
Instructions
- Melt the Ingredients: In a double boiler, combine the beeswax pellets, shea butter, and coconut oil. Heat gently until everything is fully melted and blended.
- Add Fragrance: If you're using essential oils, add them to the melted mixture and stir well.
- Pour into Molds: Carefully pour the liquid mixture into silicone molds or any mold of your choice.
- Cool and Set: Allow the lotion bars to cool and harden completely. This usually takes a few hours at room temperature.
- Remove from Molds: Once fully set, pop the lotion bars out of the molds and they’re ready to use!
Customizing Your Lotion Bars
One of the best things about a lotion bar recipe is how customizable it can be. Here are some ideas for making your lotion bars unique:
Choose Different Oils and Butters
Feel free to experiment with different oils and butters to find the perfect blend for your skin. For instance, you can substitute cocoa butter for shea butter or use jojoba oil instead of coconut oil.
Add Natural Exfoliants
To add a bit of exfoliation, consider incorporating natural ingredients like ground coffee, oatmeal, or finely crushed sugar.
Experiment with Essential Oils
Essential oils not only add a lovely scent but also offer various skin benefits. Lavender is calming, tea tree is great for acne, and peppermint can be refreshing.
Troubleshooting Your Lotion Bar Recipe
Sometimes, things might not go as planned. Here are some common issues and how to fix them:
Too Soft or Too Hard
If your lotion bars are too soft, you may need to add more beeswax. If they're too hard, try adding a bit more oil or butter.
Grainy Texture
Graininess can occur if the mixture is not melted thoroughly. Ensure everything is fully melted before pouring into molds.
Uneven Fragrance
If the fragrance is uneven, make sure to mix the essential oils thoroughly into the melted mixture before pouring it into molds.
Storage and Shelf Life
Proper storage will help keep your lotion bars in great condition:
Storage Tips
Store your lotion bars in a cool, dry place away from direct sunlight. You can keep them in a small tin or container for easy access.
Shelf Life
Homemade lotion bars typically last up to 6 months if stored properly. Always check for any changes in smell or texture before use.
Final Thoughts
Creating your own lotion bars is a fun and rewarding DIY project. With this lotion bar recipe, you have a starting point to craft your personalized skincare products. Feel free to experiment with different ingredients and scents to find what works best for you. Enjoy your homemade lotion bars and the satisfaction of making them yourself!
